Coming up with the IDEA
Coming up with the idea for my project was a bit of a challenge due to a lack of brain power. I kept asking various people what I should do for my project but I didn't like any of their suggestions because they didn't come from my brain. In the months leading up to the start of second semester I got my into computers and more specifically keyboards. After receiving a mechanical keyboard for Christmas I began to watch more and more videos related to this topic until I decided I wanted to make my own Mechanical Keyboard.
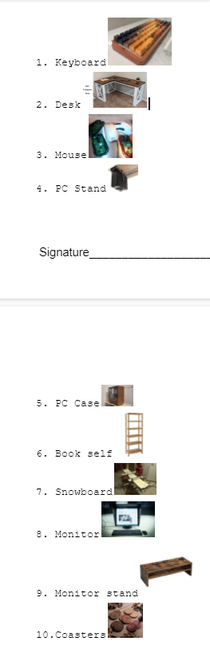
The brain storm assignment was actually really helpful for me because I was able to throw all possible ideas I had into "paper" and see what they could look like and the work needed to make them. The second 3 item deep dive helped even more and I think you can see by the picture I was much more invested into the keyboard idea than the other two. After watching some videos and looking at parts I was super excited to begin working on my project.
|
|
Designing and making the Key Caps
|
Not long after I selected my choice I began work on the first part of my project, the key caps. I went into this part think it would be easy because its all the same thing just repeated, I was very wrong. To start and see what would work with the switches I selected I found some files online and printed them to test on my old keyboard. None of them worked. I had to start from scratch with little to no point of reference. To the right is one of the designs I tried off the internet (The other one has since been deleted off the internet and I can't get access to it).
|
|
After a lot of head scratching, hours in inventor and hours of test prints I was able to come up with a keycap that would fit and work on the key board. After getting the basic letter size keycap designed all that was left was to adjust the size for the space bar and other differently sized keys. Changing them from ipt to stl was a bit of a struggle because I needed to change the text on each one before I saved it as a copy, that took at least 2 hours to just save them all.

|
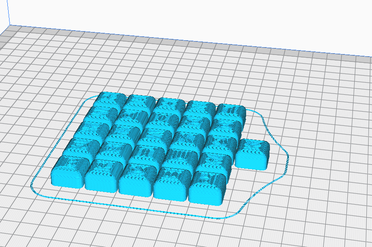
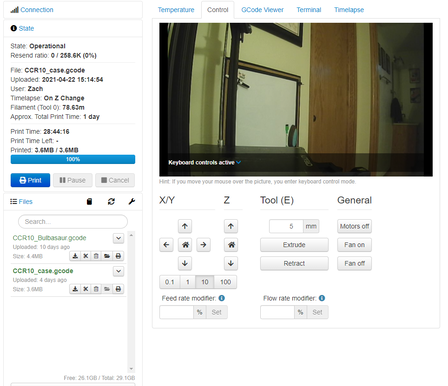
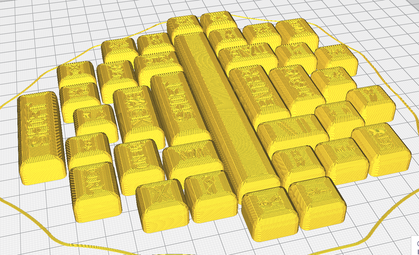
After they were all STL's I sent them into cura where I slice all my files. To the right and below you can see the sliced images of all the keys. I wasn't able to get a photo of them on the 3d printer because they both finished late at night and I was tired while trying to take them off the plate. But below is a picture of the website I used to monitor the print while it was running
|
|
|
|
3D printing isn't the cleanest thing especially when you don't tune your retraction settings correctly. Because of the strands of filament on the stems or inside the cap most would not fit on correctly. That meant I need to clean each key cap, a 60% keyboard has 61 keys and I needed to clean every single one. Below is a video of what I did for every cap, First I would shave off any hairs with a tool that came with my 3D printer and then I would take a knife and shave off even more of the inside in order to make it fit even better.
Other Materials
One obviously important part about a mechanical keyboard is the PCB which does all the computing and the switches which register a key stroke. I needed to order these things because I can't make them, I order them around mid to late march and I didn't receive them for about a month. This delayed my progress but I was even more excited when they finally came. Although I didn't make them a lot of work still surrounded them. The day I got the parts I began to assemble the keyboard so I could design the case. This process of putting it together took around 3 hours and was very tedious. I ended up breaking about 4 switches in the process but I had backups so it was okay. Below you can see the process of putting it together,
|
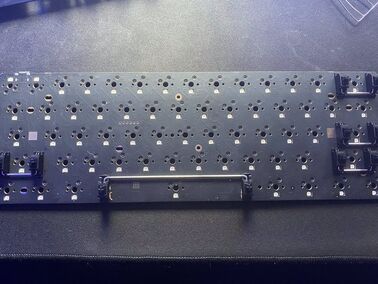
First I needed to put the stabilizers for the larger switches in the PCB itself. Stabilizers make sure the entire key is pressed down instead of just one side.
|
|
|
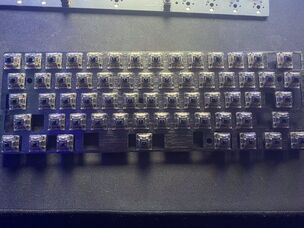
After that I needed to put all of the switched onto the plate. This is needed to they can be all aligned before I put them on the PCB. This part hurt me because I kept poking myself with the copper pins.
|
|
Putting the two pieces together was a bit hard and this is where I ended up bending some of the switch pins. Luckily I was able to replace them without taking the whole thing apart. To the right is the PCB and Plate put together.
|

|
|
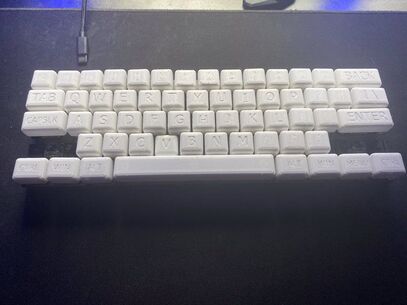
With this all ready and set to go I began putting on the key caps. This process to awhile and it turned out I made the shift keys to small which is why they are missing.
|
With this all ready to go and put together all that is left is to make the case and the designs to go on it.
Designing and Making the Case
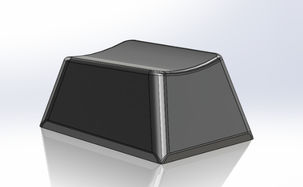
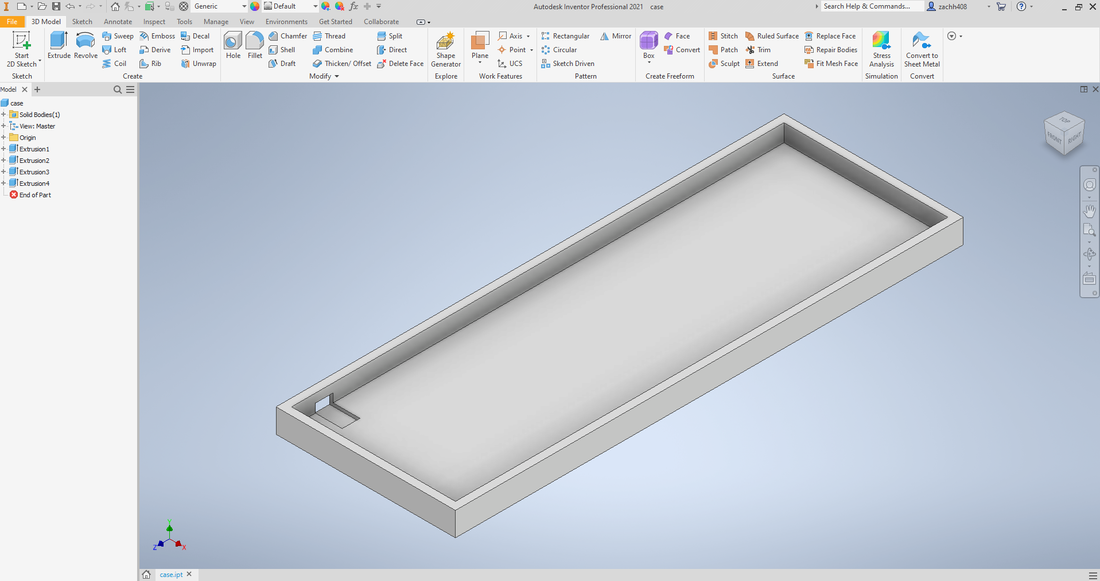
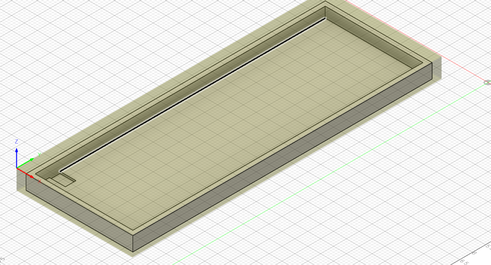
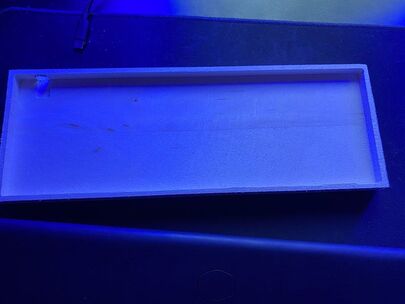
I had to wait to start designing the case until I got my PCB because I couldn't find accurate measurements online. But once I received my PCB it only took me a short time to design before I was able to start printing prototypes. Due to the height of the print I couldn't fit it all in camera and I never actually went down to my printer because I started it remotely using a Raspberry PI attached to my printer.
|
|
With the case printed out and fitting I went into the classroom and began to set it up in Fusion and on the CNC. Big thanks to Mr. Willaur for starting it for me and helping with the tool path.
|
And here is the case all cut out
Lasering Designs
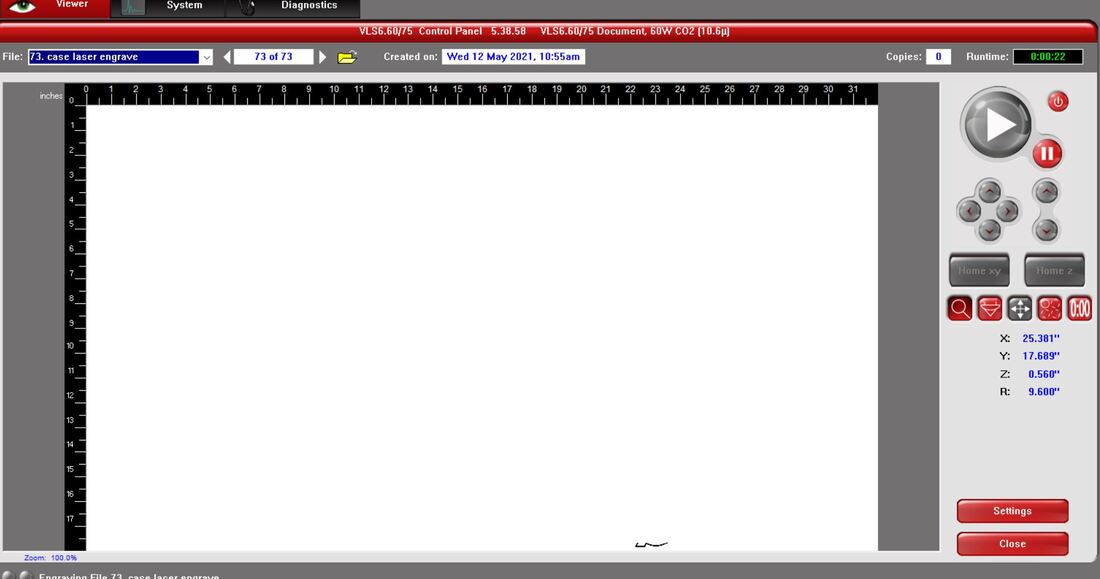
With the case all cut out it is time for the final step of my project. I need to laser engrave my case with some designs in order to make it that much cooler. This part isn't that necessary but it makes the final product feel more complete and personal
|
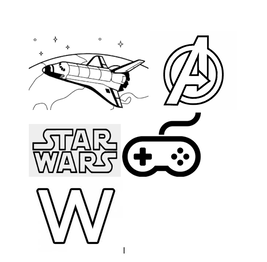
I wasn't able to get Illustrator on my home PC so I compiled a bunch of photos onto a google doc so I would be ready to put them into illustrator when I got to school.
Once I got to school I put them all into Illustrator and started to get them ready to onto the laser software. |
|
|
|
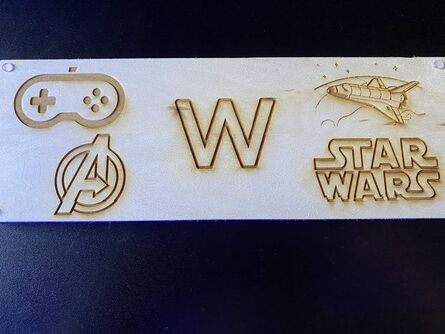
And here is the final product of my case all lasered up.
The Final Product
This semester hasn't been easy to say the least. With the constant changing of learning ways and the raging pandemic, its been rough to say the least. But this project has allowed me to learn and refine important skills. When designing in inventor I needed to think outside the box and do what I never even thought of before. I needed to be patient and delicate when putting things together because of their fragility. I learned how to set up a raspberry pi in order to monitor my 3D prints. Overall this has been a great project and I am so happy that I choose it.
