What is Illustrator?
Illustrator is a graphics editing software that we used to make stuff like key chains. In Illustrator you can take stuff like photos from online and make a cool design for something. It is very useful for when you want to make 2D designs or other simple things unlike Inventor when you make 3D designs. We use Illustrator with the laser and vinyl cutters whereas we us inventor with the 3D printers.
Laser Cutter
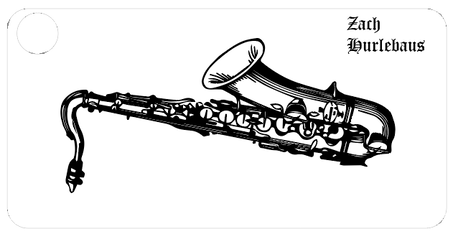
Step 1: Design your key chain in inventor (Like the imaged above)
Step 2: Upload your file to your USB drive
Step 2: Upload your file to your USB drive

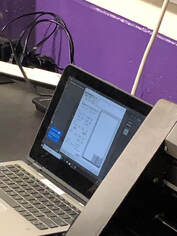
Step 3: Open your file and go into adobe illustrator
Step 4: Adjust settings to match the ones on the hand out.
Step 5: Click print and it will send you to the UCP software
Step 4: Adjust settings to match the ones on the hand out.
Step 5: Click print and it will send you to the UCP software

Step 6: In the UCP you finish setting up the print settings
Step 7: First you select the material you are using and the width of it too
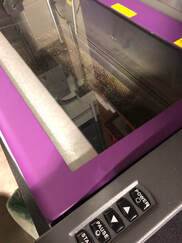
Step 8: Drag you key chain into a spot to match where it is in the laser
Step 9: Adjust the laser location/home so it will cut well
Step 7: First you select the material you are using and the width of it too
Step 8: Drag you key chain into a spot to match where it is in the laser
Step 9: Adjust the laser location/home so it will cut well
|
Step 10: Once everything is correct you press the big green button and it will start to laser it out.
|
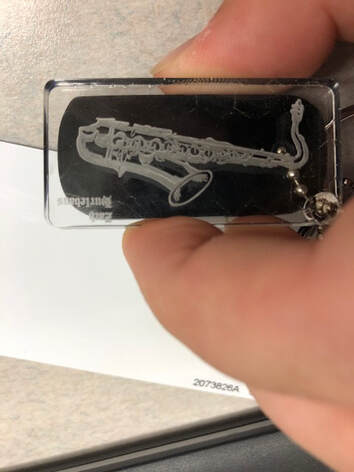
Here is the final product
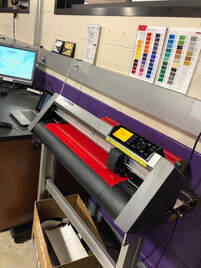
Vinyl Cutter

Step 1: Make your name in Illustrator
Step 2: Upload the file to your USB
Step 3: Take it to the Vinyl cutter in the Innovation center
Step 2: Upload the file to your USB
Step 3: Take it to the Vinyl cutter in the Innovation center
Step 4: Set up the settings for your Vinyl file
Step 5: Add the Vinyl and make sure the rollers are on the right spots.
Step 6: Get the settings for the Vinyl cutter correct
Step 7: Start and finish the print
Step 6: Get the settings for the Vinyl cutter correct
Step 7: Start and finish the print
Applying the decal
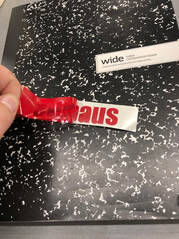
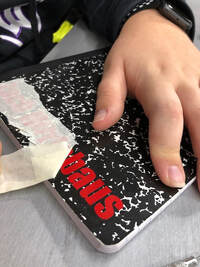
Step 8: To start you take off the red part that is not the design you want
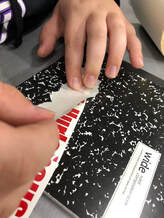
Step 9: Now I Am applying the tape to help me apply it to my notebook
Step 10: Now you remove the bottom white part the vinyl was cut and so the sticky part is facing out
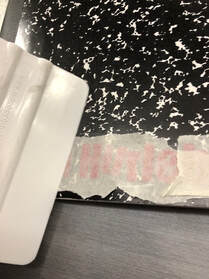
Step 11: Apply the Decal to your Notebook and use the White flatterer you see to make sure its stuck on good
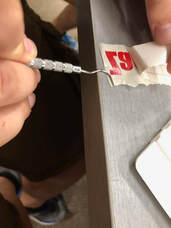
Step 12: Peel the tape off at an angle so the vinyl does not come with it
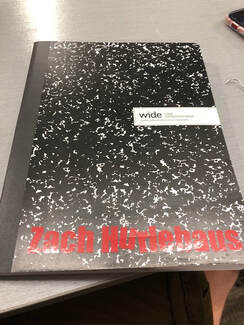
And this is the Final project below
And this is the Final project below
What I learned
I learned from this brief intro to illustrator was that It was a lot more useful and fun than I thought it was going to be. I learned how to use the illustrator, the laser and vinyl cutter. I had never used two machines like the laser and vinyl cutter and it was a really fun experience. I can't wait to continue using these amazing machines and software in the Vinyl and laser rotations.
